Users are invited through the User Groups page. When you invite a user, they’re automatically added to the group — this ensures every user has proper access from the start.
1
Go to User Groups
Navigate to User Groups in the left sidebar of the Admin Portal.
2
Select a group
Click on the group you want to add the user to. The group’s detail panel will open.
3
Click the add user button
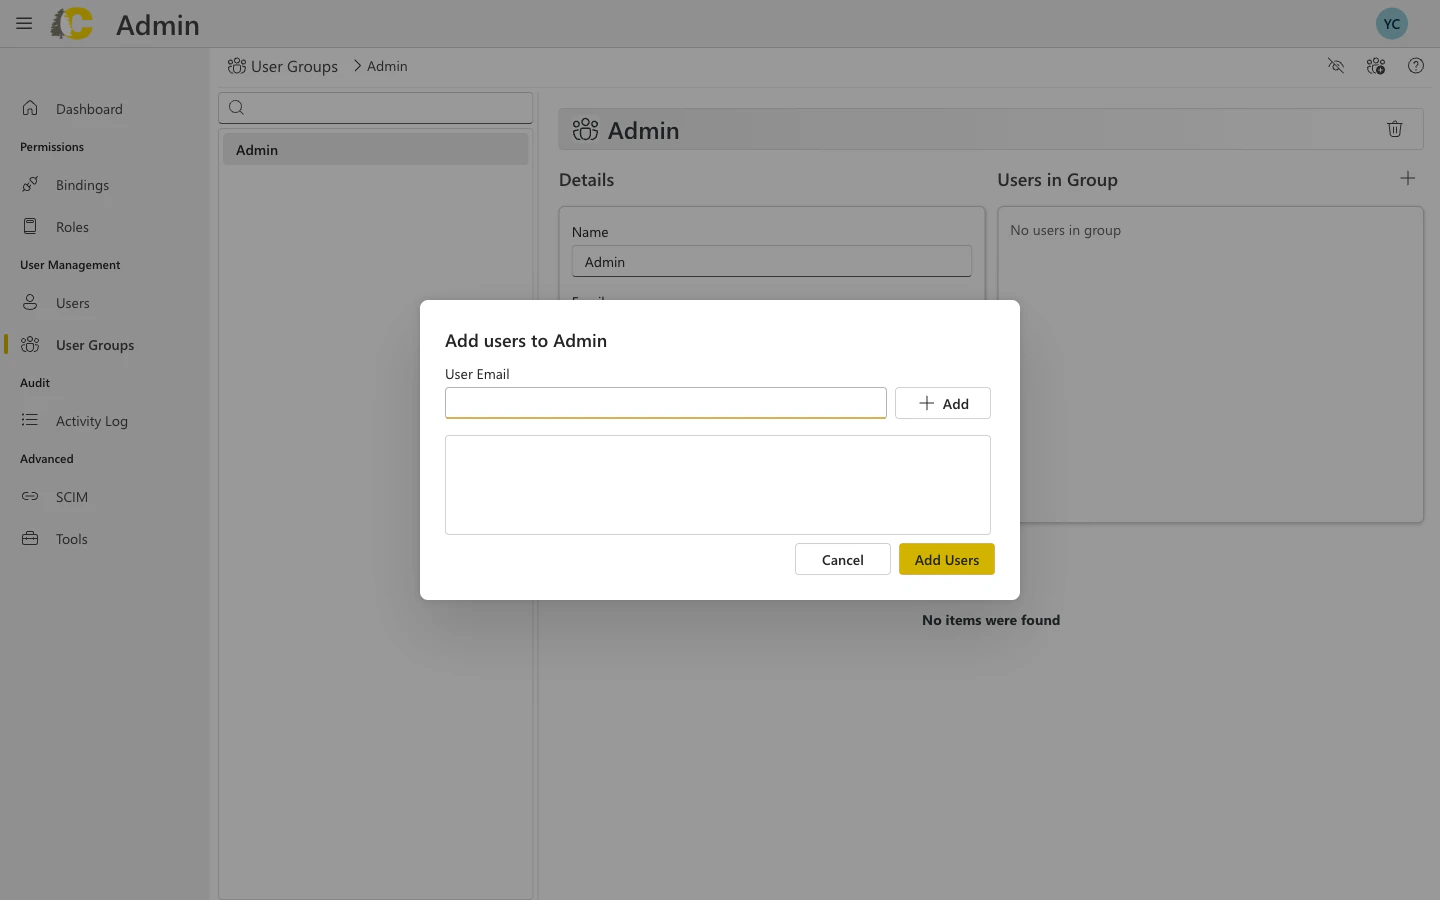
In the Users in Group section, click the + button to open the invitation dialog.
4
Enter the user's email
Type the user’s email address and click Add to add it to the list. You can add multiple emails.
Add users dialog from the User Group detail page
5
Send invitations
Click Add Users to send invitation emails. The users will appear in the group with Invited status.
Each user will receive an email with a link to set up their account. Once they complete registration (or sign in via SSO), their status changes to Registered.
Why invite through groups? This design ensures users always have proper access. A user without group membership has no permissions, so inviting directly into a group streamlines onboarding.
When someone reports they can’t access Cedar, follow these steps to investigate.
1
Search for the user
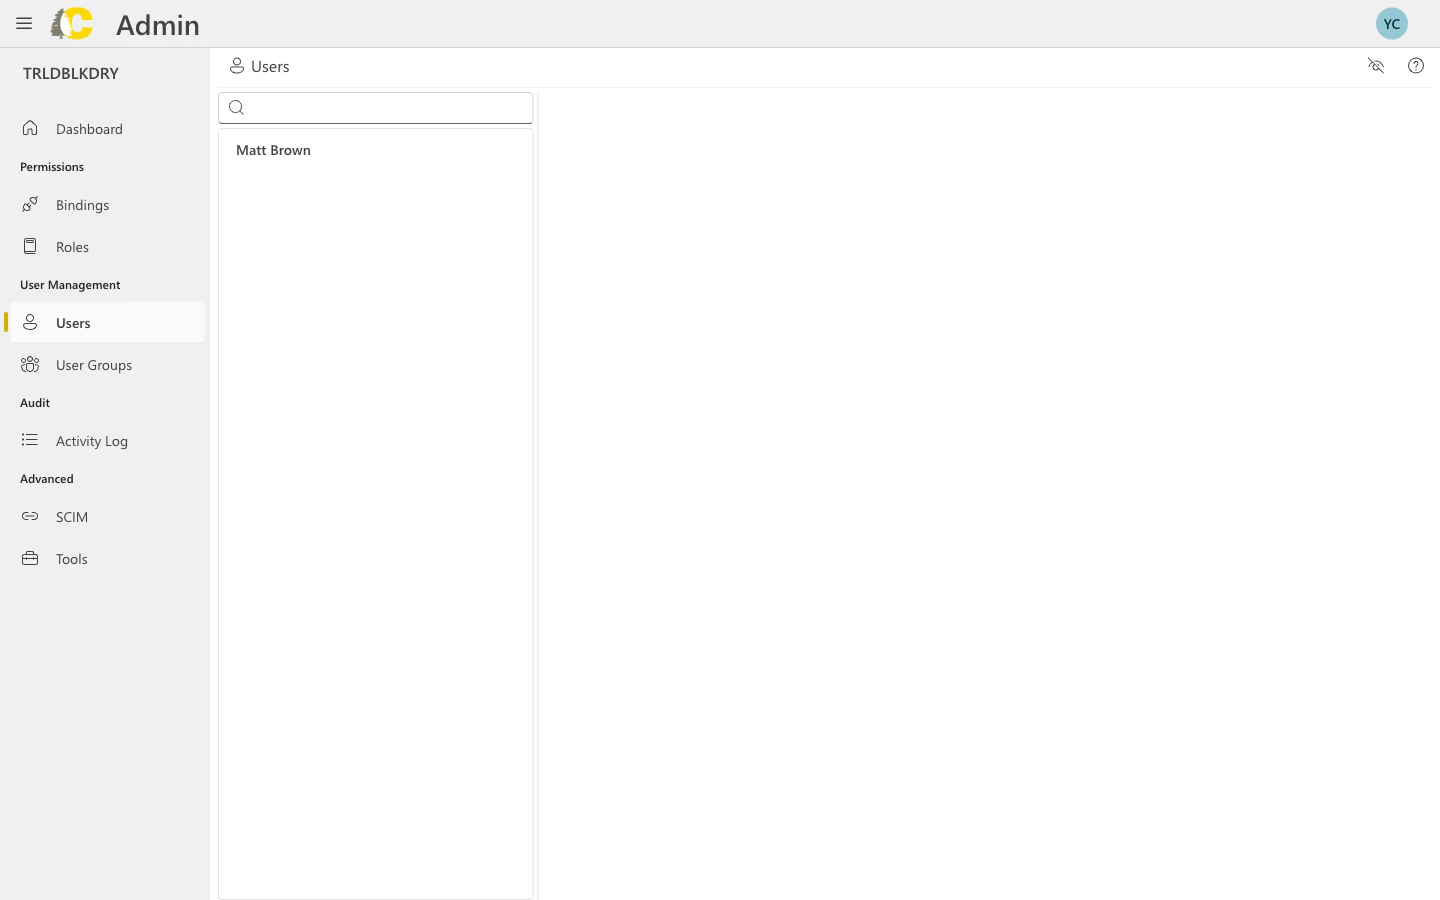
Use the search box to find the user by their email address.
2
Check their status
Look at the Status column:
Status
Meaning
Registered
Account is active and ready to use
Pending
Invitation sent but not yet accepted
Disabled
Account has been deactivated
3
Verify the email
Make sure the email address matches exactly what the user is trying to sign in with.
4
Check group memberships
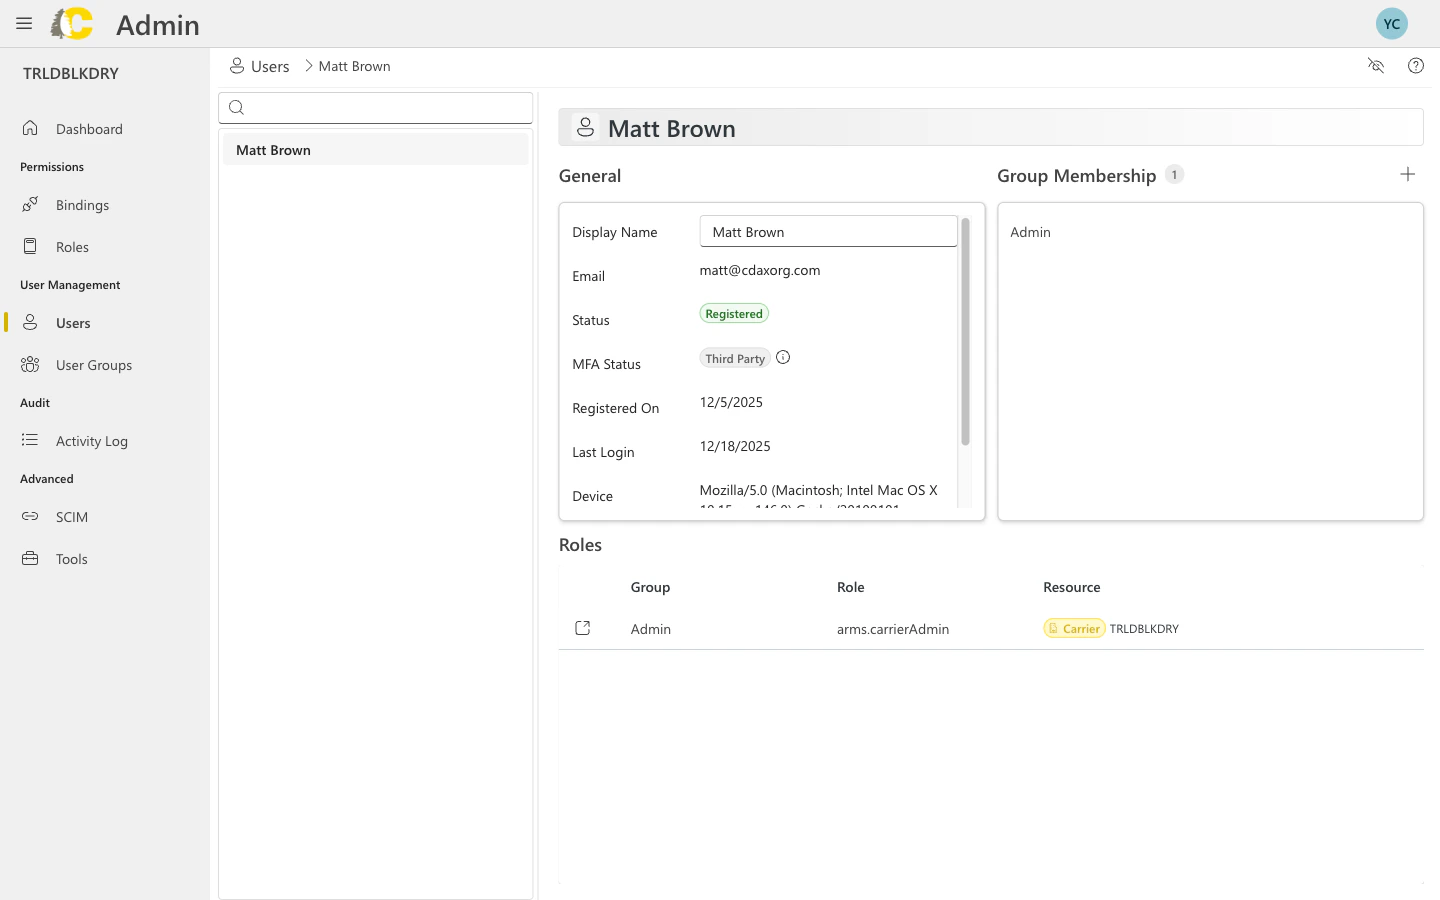
Open the user detail panel and verify they belong to a group that has the necessary role bindings for what they’re trying to access.
5
Resend invitation if needed
If the user’s status is Pending and they can’t find the email, resend the invitation.
If a user has no group memberships or their groups have no role bindings, they won’t be able to access any resources even if their account is registered.
Users go through different states as they interact with Cedar. Understanding these states helps you manage accounts effectively.
Cedar Managed Users
Go through Confirmed state when they click the email link, then complete registration to become Registered.
SSO Users
Skip Confirmed entirely — they go directly from Invited to Registered on first SSO login.
Status
Description
Can sign in?
Invited
Invitation sent, waiting for user to take action
No
Confirmed
User opened the registration email link (Cedar managed only)
No
Registered
Account is active and fully set up
Yes
Invitation Expired
User didn’t respond within 2 weeks
No
Deactivated
Account has been disabled by an administrator
No
Why SSO users skip Confirmed: SSO users authenticate through your identity provider (Okta, Azure AD, or Google), so there’s no separate email verification step. When they sign in via SSO for the first time, Cedar recognizes them as an external provider user and automatically marks them as Registered.
Invitation expiration: Invitations expire after 2 weeks. If an invitation expires, you can resend it from the Admin Portal to reset the timer and move the user back to Invited status.
Reactivating users: If a user was previously Deactivated but has valid credentials (e.g., they previously completed registration), an admin can reactivate them back to Registered status.
MFA for SSO users: If a user authenticates via SSO (Okta, Azure AD, Google), their MFA settings are managed by your identity provider, not Cedar. The MFA settings in the Admin Portal only apply to Cedar managed users.
Hybrid approach: You can have both SSO and Cedar managed users in the same organization. This is common when you have internal employees using SSO and external partners using Cedar managed accounts.
Learn more: For SSO setup instructions, see the SSO Overview. For optional automated user provisioning, see SCIM Provisioning.
Instead of assigning roles directly to users, add users to groups and assign roles to the groups. This makes access much easier to manage when team members change.
Check spam filters for invites
If someone isn’t receiving their invitation email, ask them to check their spam folder. Also verify the email address is spelled correctly.
Review MFA status
For Cedar managed users, encourage enabling SMS-based MFA for extra security. You can see each user’s MFA status in their detail panel. SSO users’ MFA is managed by your identity provider.
Keep user information accurate
Maintain up-to-date names and email addresses. This helps with auditing and makes it easier for colleagues to identify users.