User groups let you manage access for a team at once instead of person-by-person. This is the recommended way to grant access in Cedar.
Why use groups?
Easier management
Change access for many users at once
Clearer organization
Know exactly who has what access
Fewer mistakes
Reduce errors from individual assignments
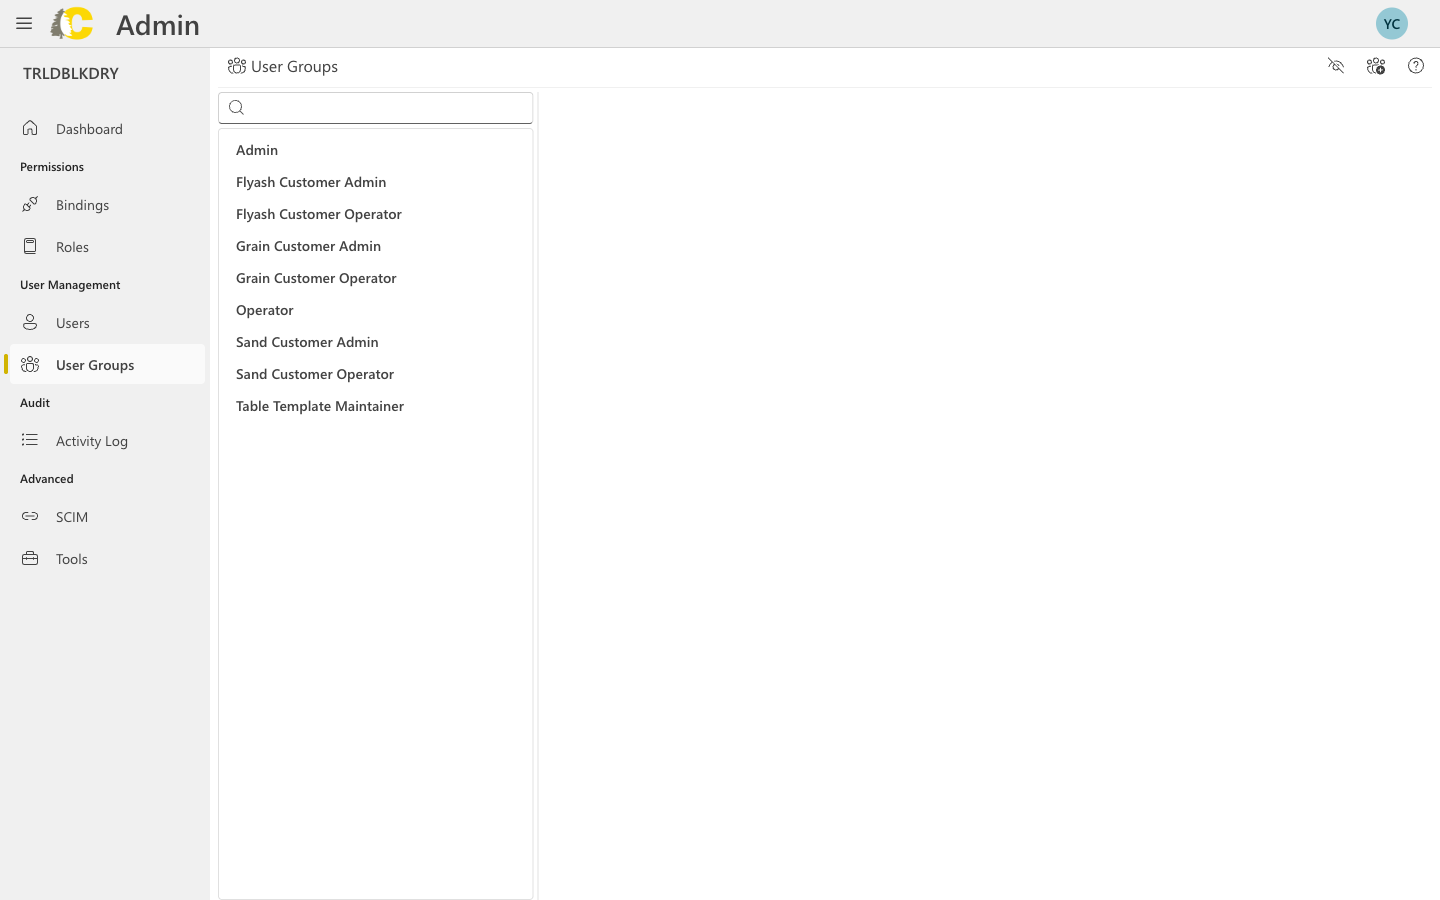
Create a group
Name your group
Choose a clear, descriptive name like:
- “Customer Admins”
- “Operations Team”
- “Billing Specialists”
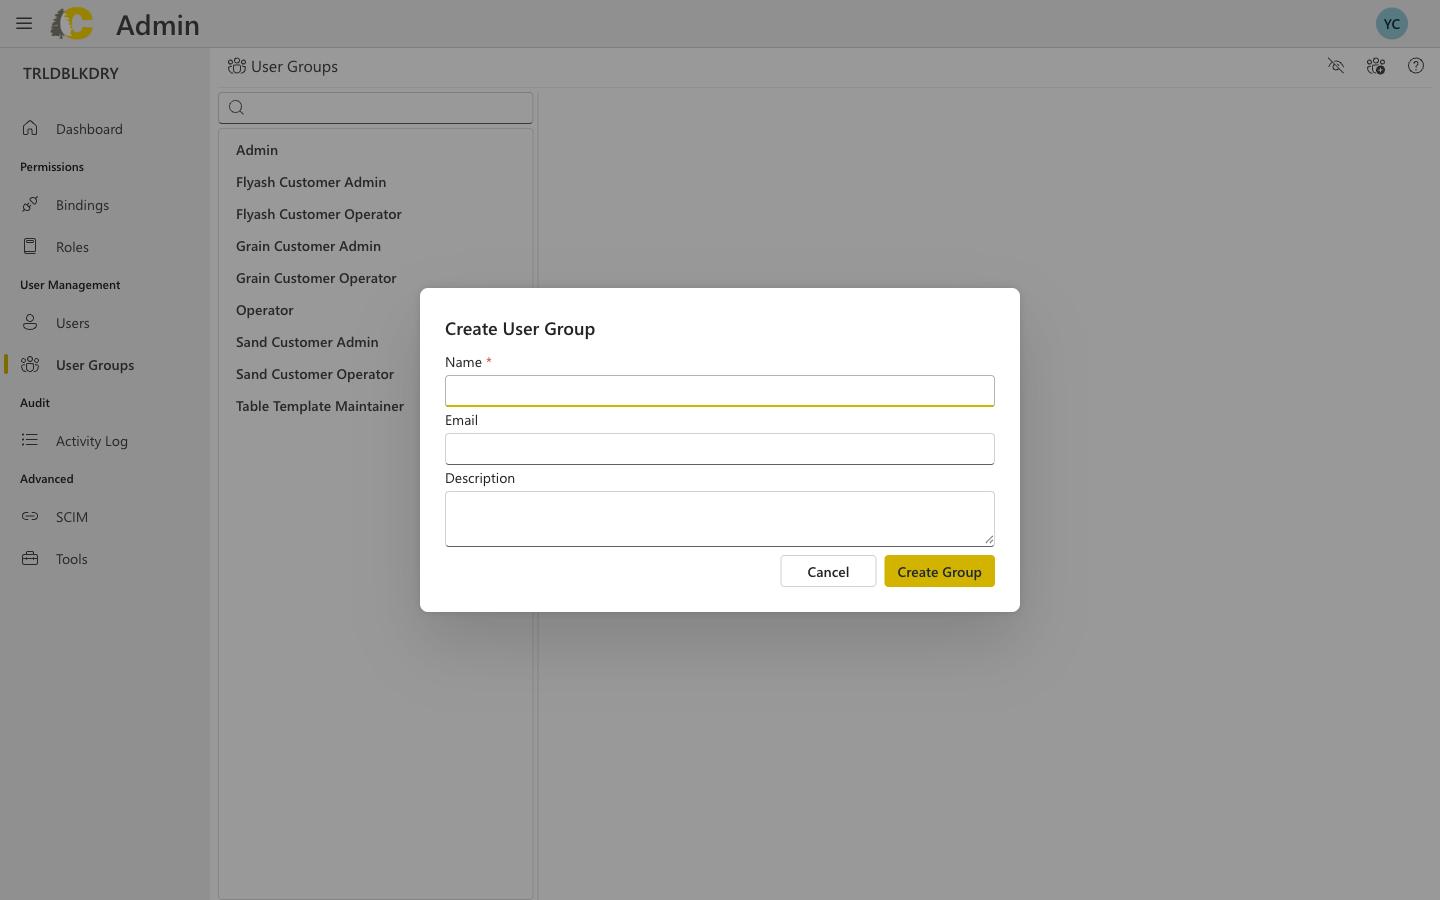
Dialog fields explained
| Field | Required | Description |
|---|---|---|
| Name | Yes | A descriptive name for the group (e.g., “Operations Team”) |
| No | Optional email address for the group | |
| Description | No | Brief description of the group’s purpose |
Group details
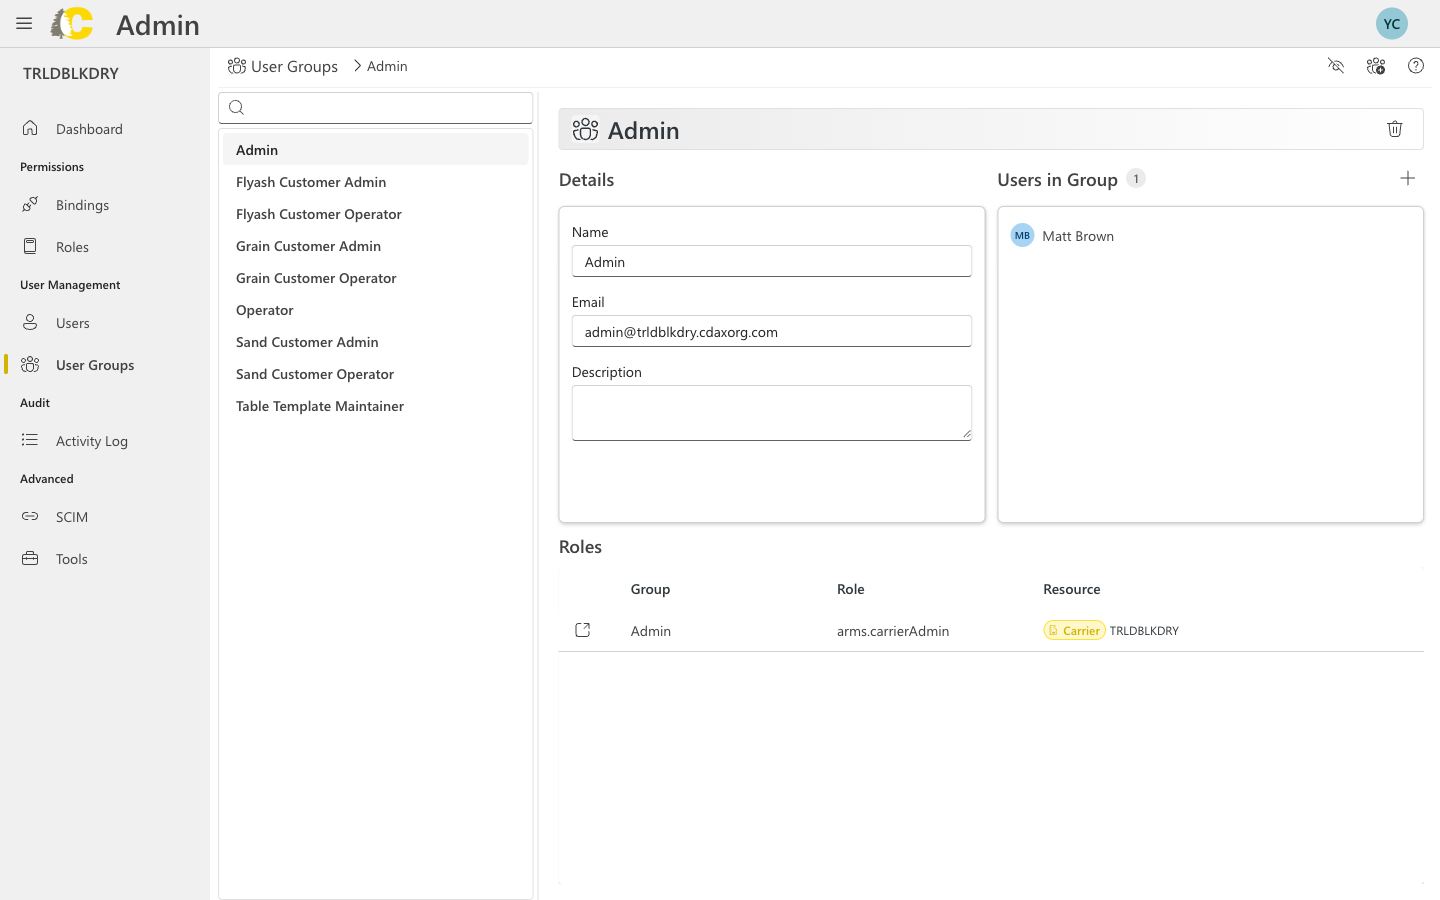
- Group name and email
- Description
- Role assignments (via bindings)
- Members in the group
Add or invite users to a group
Users are invited to Cedar through the User Group detail page. This ensures every user has proper access from the start.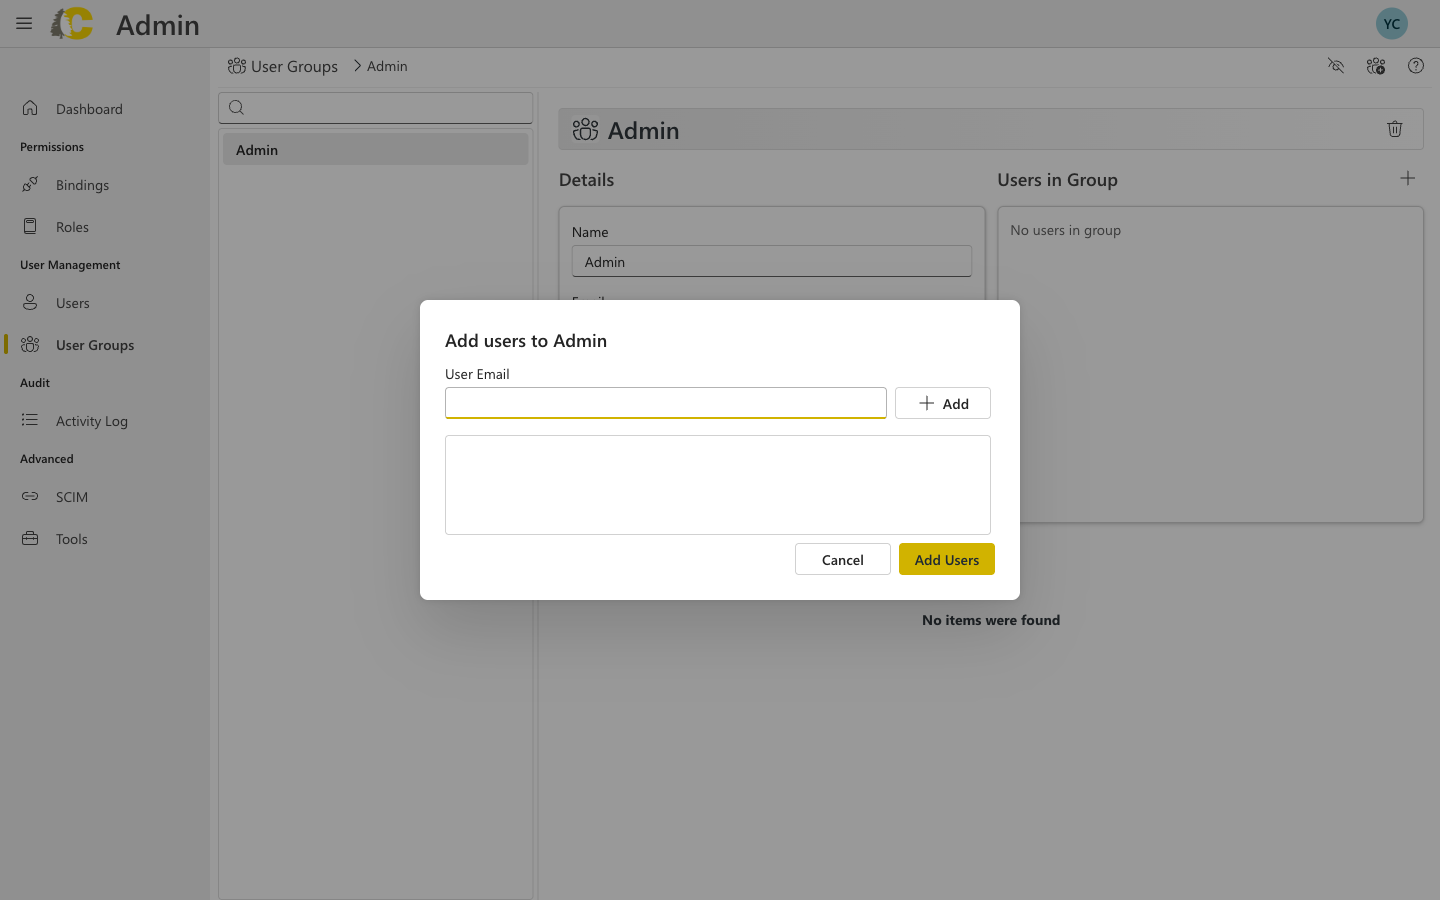
Best practices
Keep names simple and specific
Keep names simple and specific
Good names describe the team’s function clearly. Avoid generic names like “Team 1” or names that include specific people.
| ✅ Good | ❌ Avoid |
|---|---|
| Customer Admins | Admin Team |
| Billing Specialists | John’s Team |
| Operations - West | Group 1 |
Use groups as the default
Use groups as the default
Always assign access through groups, even if there’s only one person. This makes it easy to add more people later.
One group per role/scope combination
One group per role/scope combination
If different teams need the same role but on different scopes (e.g., different customers), create separate groups for each.